Aglaonema Propagation Background
Aglaonema propagation is a simple process and special equipment is not required (rooting hormone, humidity domes, etc.)
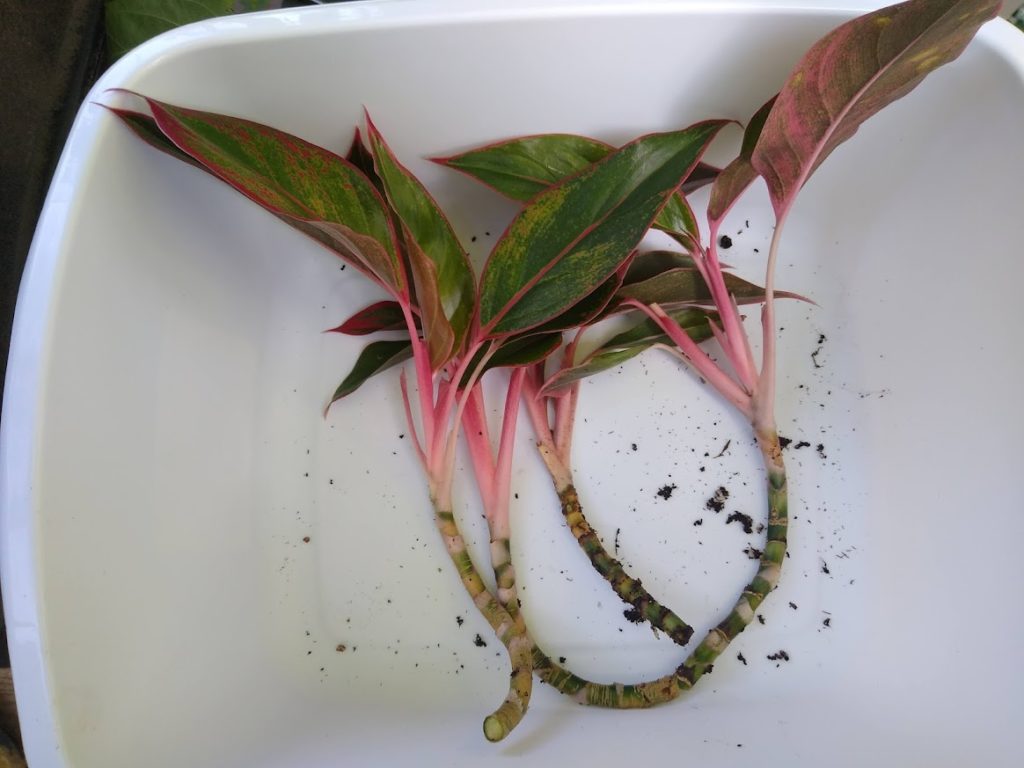
Rooting Aglaonema cuttings is somewhat unlike rooting other cuttings because the number of nodes is irrelevant. As a general rule, I take cuttings with stems at least 5-6″ long (not including the leaves) with 5 healthy leaves (the 5 leathe 5 leaves rule is well attested in the literature). Use straight stems if available, but as explained in a previous article, many of the newer Aglaonema varieties develop curved stems. In any case, persevere we must!!!!
Taking the Cutting
Use a clean pair of garden shears, scissors, or a sharp knife to take the cuttings. Above are 4 ‘Red Siam’ cuttings of varying lengths, but I’ve followed my own rule: they are all 5″+ inches long and have 5 leaves.
Rooting
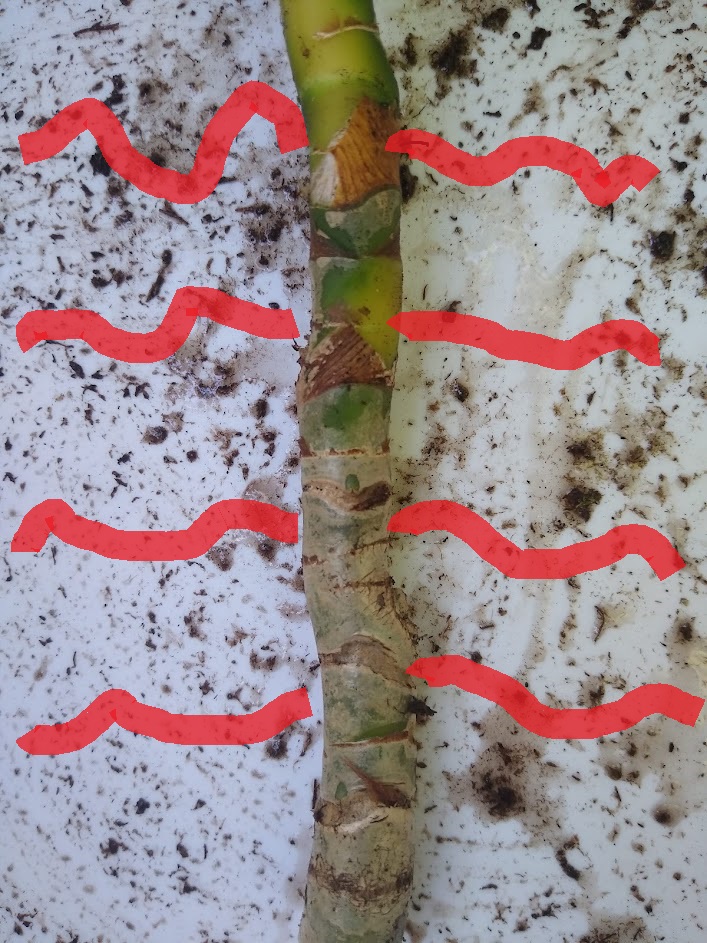
As beautifully depicted above, the new roots (red doodles) will emerge all along the length of the stem and extend laterally. Unlike other stem cuttings, Aglaonemas do not develop roots from the cut surface from which callus is formed. Short stemmed cuttings will not provide enough tissue for strong lateral root emergence. This is why it’s necessary to take long cuttings and plunge them deeply into the soil.
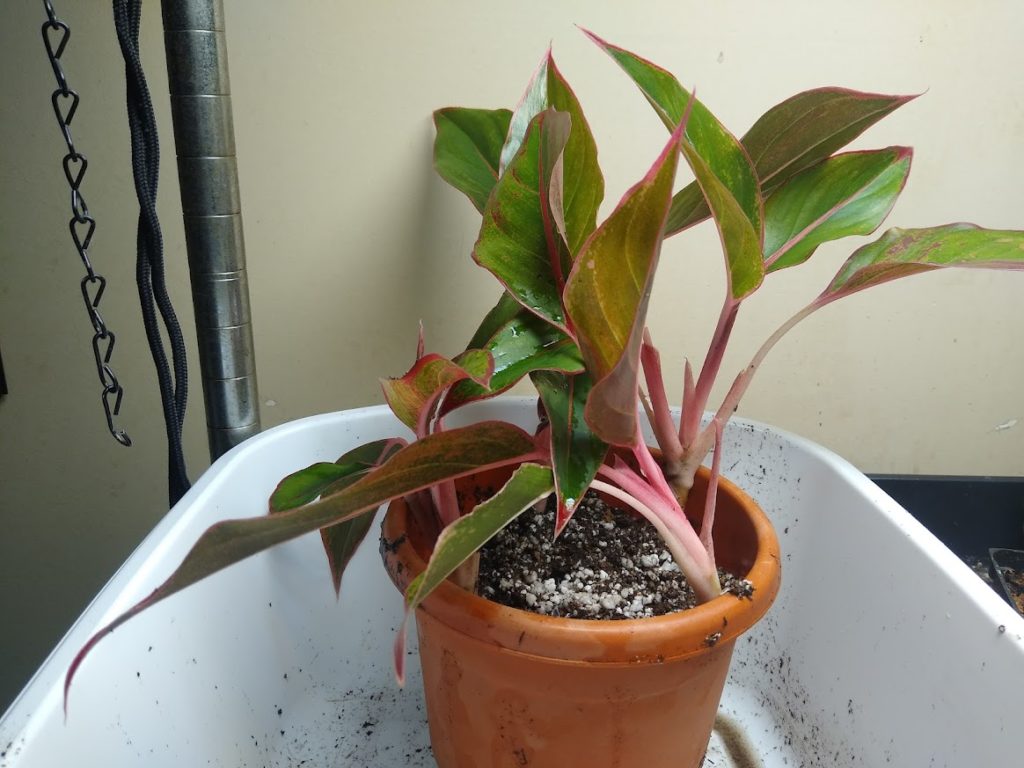
Soil Mix and Potting
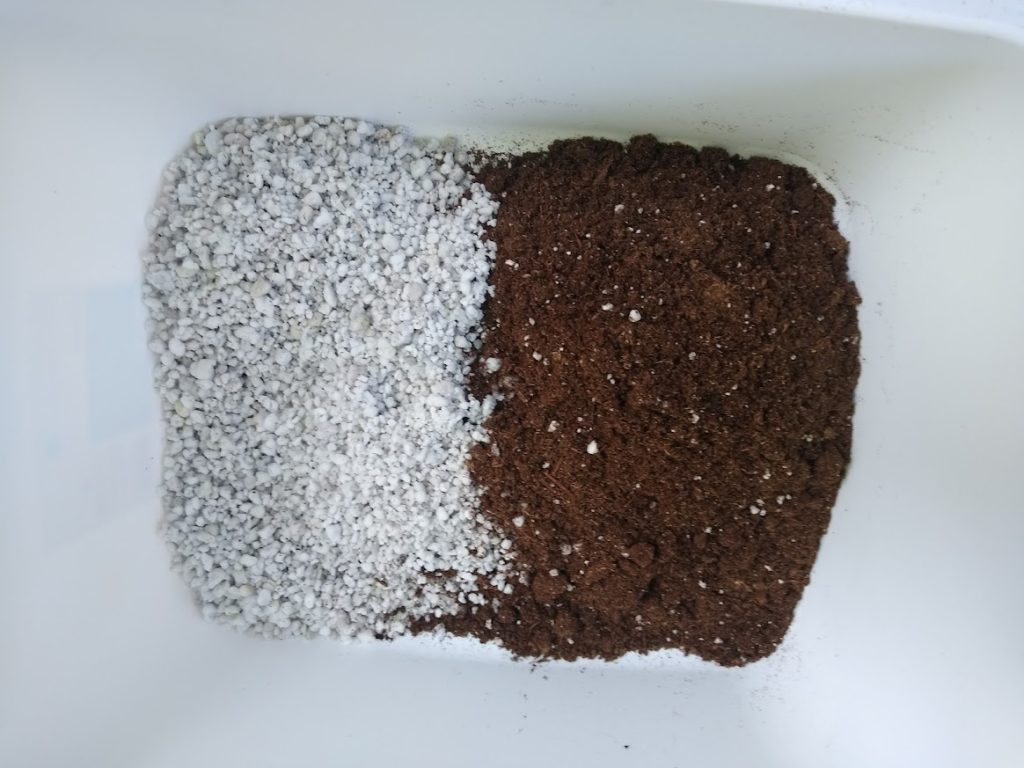
The propagation mix is one part sphagnum peat and one part perlite. The mix isn’t that crucial; even a peat/perlite potting mix straight from the bag can work with Aglaonema cuttings.
PRO TIP: moisten the mix adequately before sticking the cuttings.
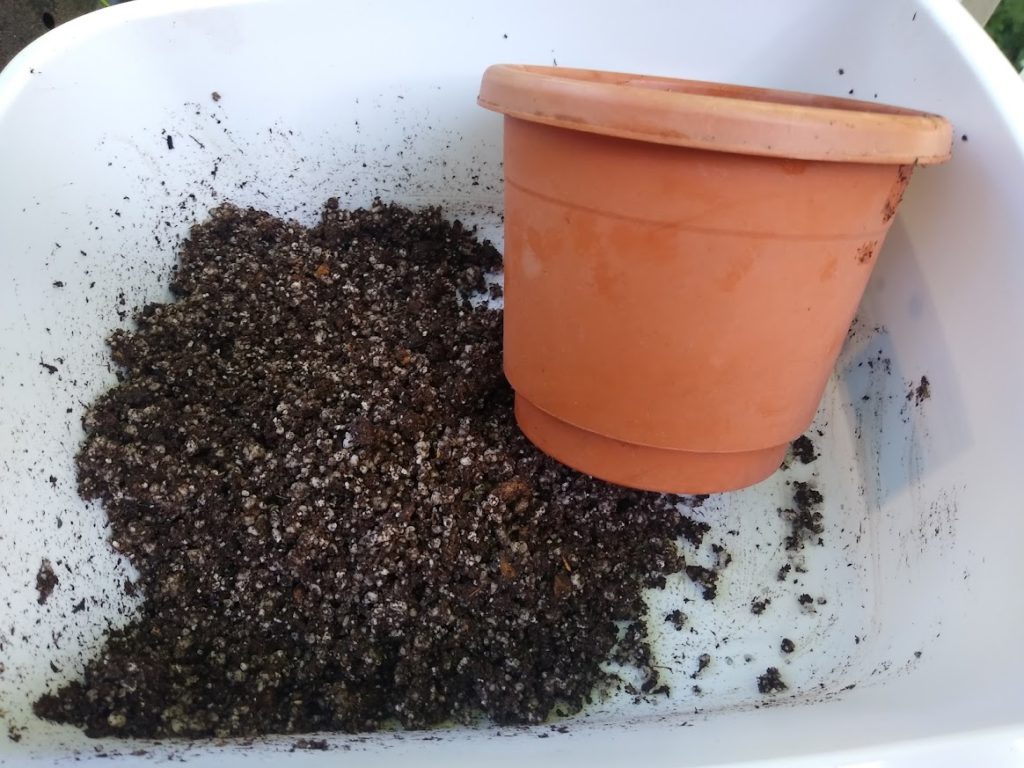
Proper pot selection is crucial in this case since Urso is using cuttings with curved stems. It needs to be wide enough to accommodate the part of the stem that curves horizontally and tall enough to allow for deep plunging. The pot pictured is about 6″ in diameter and 6″ tall; much larger than containers normally used for rooting cuttings.
Fill your pot with the mix and tamp it flat. Add the most curved stems to the mix first and then insert the straight stems in the remaining space. Water the finished product in gently to prevent the perlite from dislodging overly much. Fertilizer is unnecessary.
Light and Temperature
Place your pot in an area where the temperature won’t frequently drop below 70F. The cuttings need light, but not much. Mine receive about 300 foot candles (fc) for 10-12 hours per day from fluorescent lights. Keep the soil moist and spritz the foliage 3-4 times per week. They will strike roots in 3-4 weeks. Bottom heat can shorten rooting time to 2-3 weeks.